A pool pump that suddenly loses pressure, makes a straining noise, or trips the circuit is often trying to tell you one thing: the impeller is blocked. The impeller is the small, curved-vane wheel inside your pump that spins to draw water through the system. When leaves, hair, grass clippings or fine debris wedge between its vanes, water flow drops off and your whole filtration setup suffers. The good news is that clearing a blocked impeller is a job most Cape Town pool owners can handle themselves in under an hour with basic tools. Here is how to do it safely and properly.
Signs Your Impeller Is Blocked
Before you start pulling the pump apart, confirm the impeller is actually the culprit. A restricted impeller shows a fairly consistent set of symptoms, and recognising them saves you from chasing the wrong problem.
- Weak or non-existent water return from the pool jets
- A low or fluctuating reading on the filter pressure gauge
- The pump motor running louder than usual or with a grinding hum
- Air bubbles in the pump basket or a low water level in the strainer housing
- The pump priming poorly or losing prime shortly after starting
If you have already emptied the pump strainer basket and the skimmer weir baskets but flow is still poor, the impeller is the next place to look.
Safety First: Switch Off the Power
This step is not optional. Turn the pump off at the plug and, ideally, at the circuit breaker on your distribution board. A pool pump motor can start unexpectedly if it is on a timer, and the impeller spins fast enough to cause a serious injury. Once the power is isolated, close the isolation valves on the suction and return lines if your setup has them. This stops the pool draining back through the pump while it is open.
What You Will Need
You do not need specialised equipment for this job. A flat-head and Phillips screwdriver, a pair of long-nose pliers, a length of stiff wire or a bent paperclip, and an old toothbrush cover most situations. Keep a towel and a bucket handy, because a little water will always spill out of the pump housing.
Getting to the Impeller
Remove the pump lid and lift out the strainer basket. Behind the basket, at the back of the strainer housing, is the diffuser, and the impeller sits directly behind that. On most domestic pumps you will need to unbolt the motor assembly from the wet end, or remove a few screws holding the diffuser in place, to expose the impeller. Take a photo on your phone before you separate anything so you know exactly how the parts fit back together.
Clearing the Blockage
With the impeller exposed, you will usually see the vanes packed with hair, fibres, small twigs or a compacted plug of fine debris. Work through the gaps between the vanes with your bent wire or long-nose pliers, pulling material out from both the front and the eye of the impeller. Rotate the impeller by hand as you go so you can reach every channel. The toothbrush is useful for scrubbing out the finer grit that clings to the vanes. Take your time and be thorough, because even a partial blockage will keep your flow rate down.
While you are in there, inspect the impeller itself. If a vane is cracked or a chunk has broken off, the impeller is unbalanced and should be replaced rather than cleaned. The same applies if it spins with a rough, gritty feel, which can point to worn motor bearings.
Check the Seals and O-Rings
Any time you open the wet end of a pump, check the shaft seal and the housing O-ring. A dry, cracked or flattened O-ring will let air into the suction side, and that air leak mimics many of the same symptoms as a blocked impeller. Lightly coat the O-ring with a silicone-based pool lubricant before reassembly. Never use petroleum jelly, as it degrades the rubber over time.
Reassemble and Prime the Pump
Refit the diffuser and bolt the motor assembly back to the housing, following your earlier photo. Replace the strainer basket and fill the housing with water to help the pump prime. Reopen your isolation valves, seat the lid firmly, and only then restore power at the breaker. Watch the pressure gauge climb back to its normal range and check that water is returning strongly through the jets. If the pump struggles to prime, switch off and check that the lid is sealing and the O-ring is seated correctly.
Keeping Impeller Blockages to a Minimum
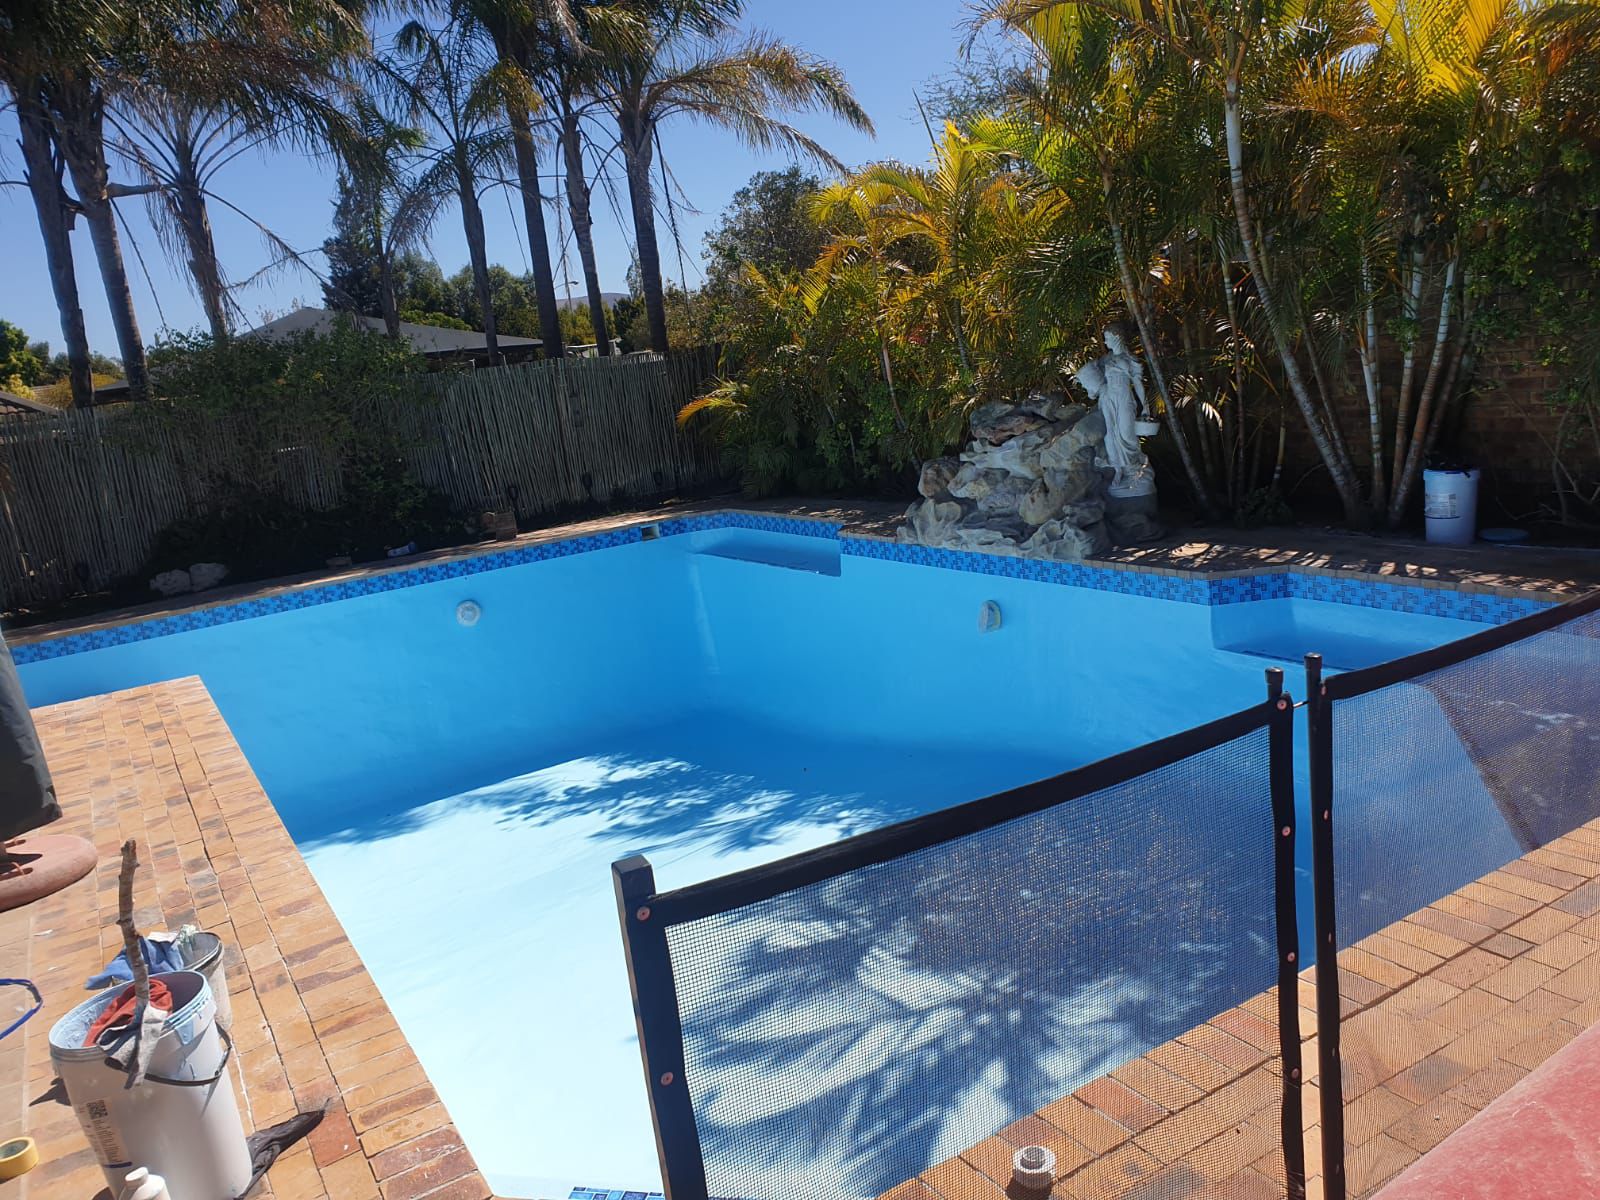
Prevention is far easier than repair. Empty your skimmer and pump baskets weekly, especially in autumn when the south-easter drops leaves and debris into Cape Town pools. Keep the pool water balanced and brush the walls regularly so loose material is captured by the filter rather than recirculated. If you are already upgrading your pool, a well-finished interior sheds debris more easily. Our fibreglass pool lining and marbelite pool resurfacing in Cape Town both give you a smoother surface that is kinder to your circulation system.
If you have cleared the impeller and flow is still poor, or the pump is noisy, overheating or refusing to prime, the problem may be deeper in the motor or plumbing. In that case it is worth having a professional take a look before a small fault becomes an expensive one. The team at Aquatic Pools works with pool owners across the Cape, and you are welcome to get in touch for advice or a hands-on service visit. A little regular attention keeps your pump running quietly and your water crystal clear all season long.